
Connecting the robot system to the Internet
Viewing the Network Status
To check the network status, click on the field located at the bottom left:
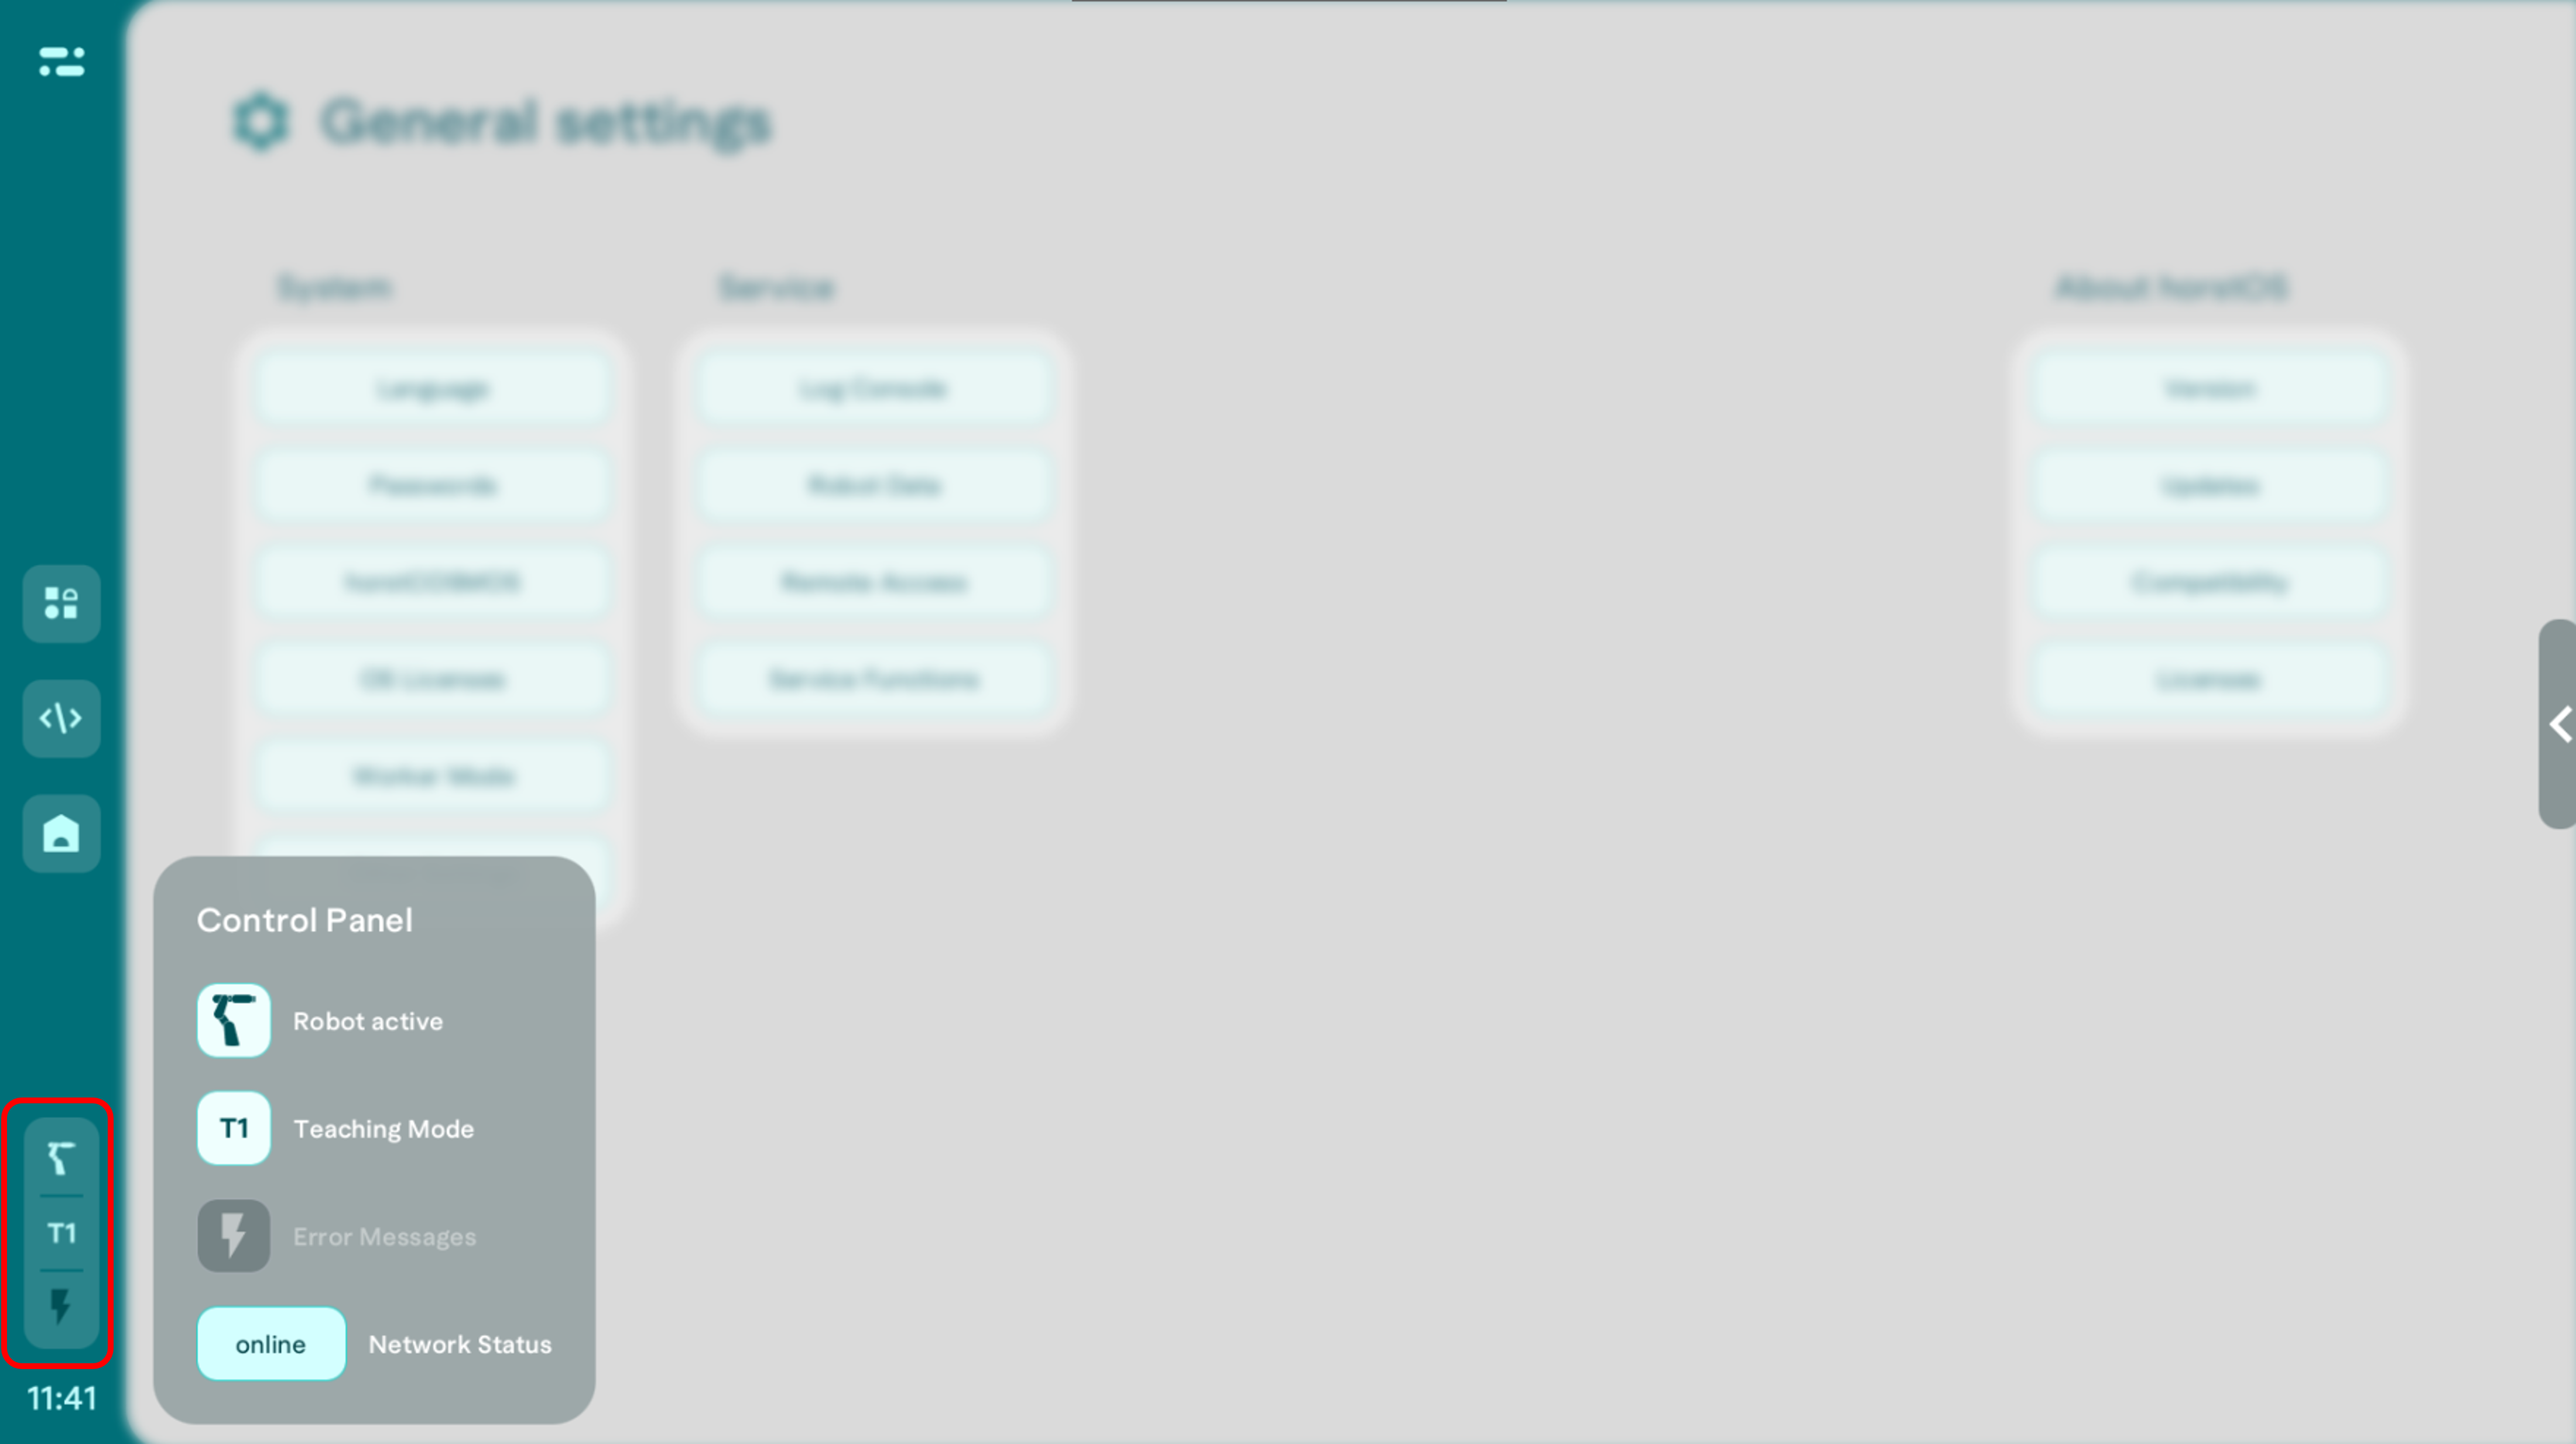
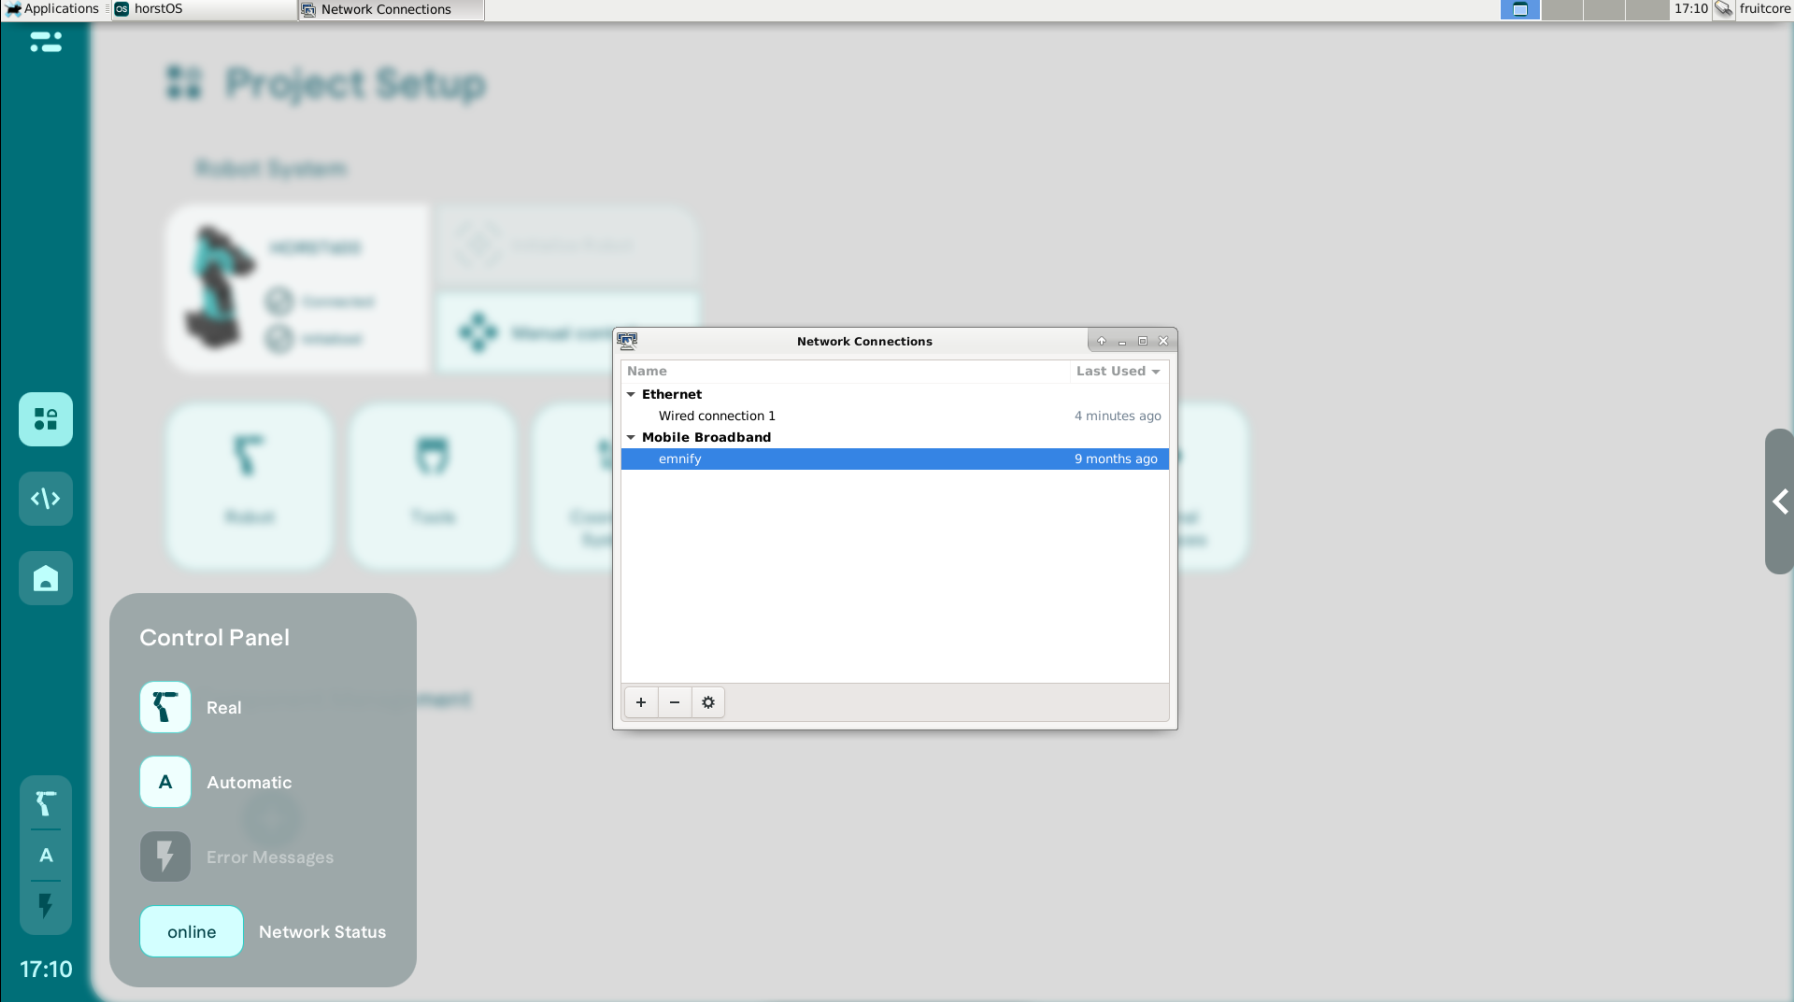
Then, click on "online" to see which connections are available. The network configuration is done at the Linux level, so it is recommended to connect a mouse and keyboard.
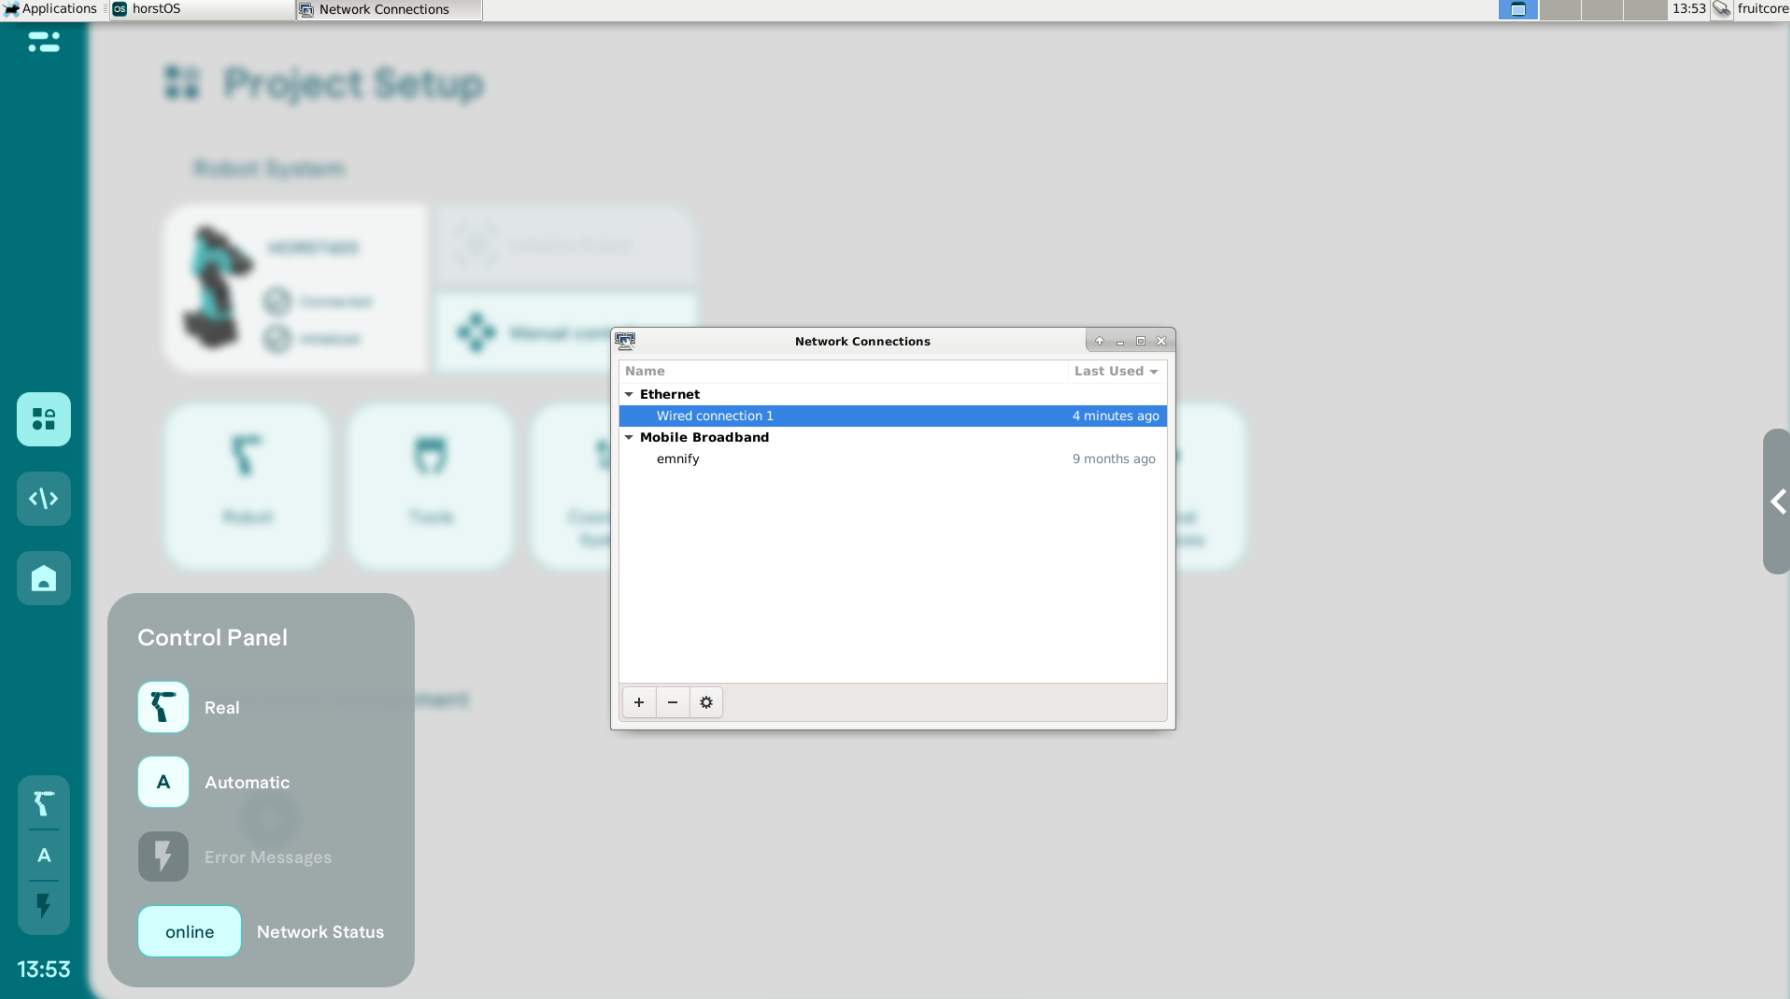
Connecting to the Internet
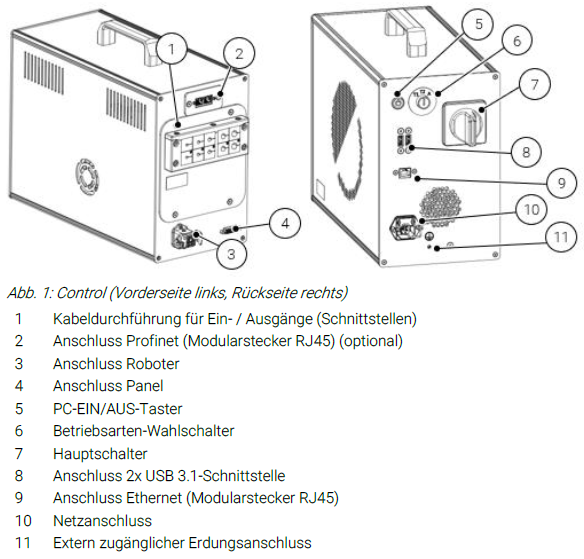
There are several ways to connect to the Internet. You can either use the built-in Ethernet interface (9) on the "Control" cabinet or use a suitable adapter to connect via the USB interface (8).
1. LAN Cable
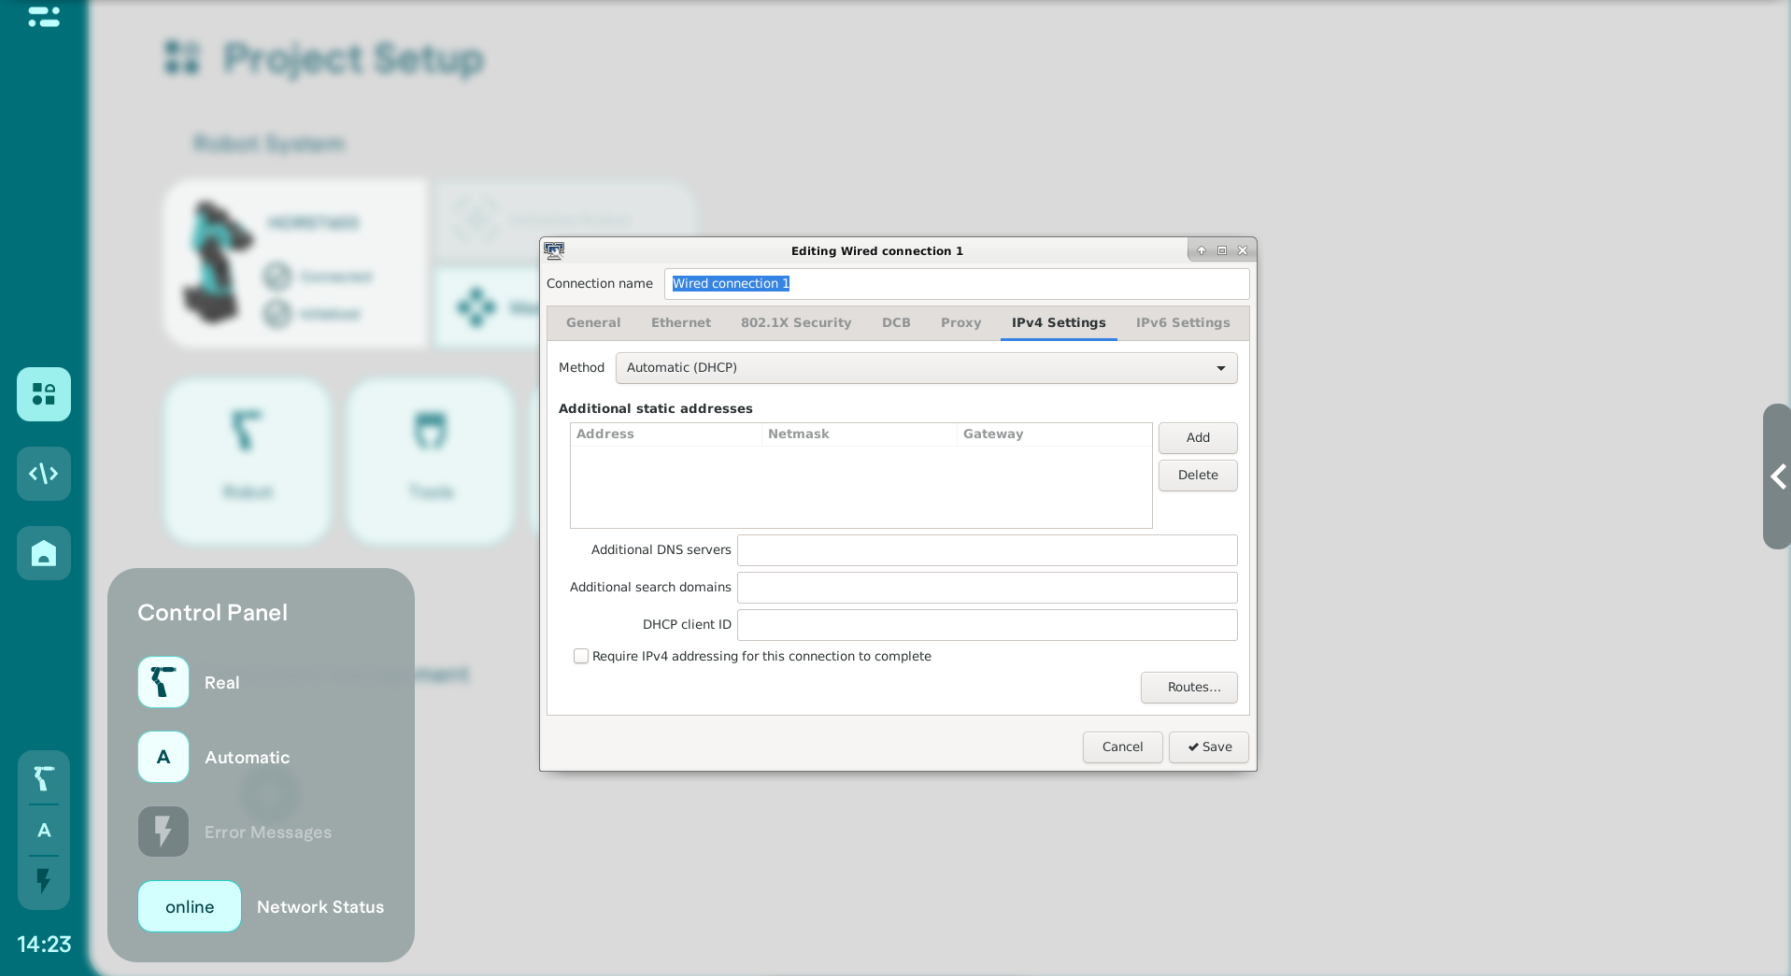
When using a network cable, it can be directly connected to the Ethernet interface on the cabinet. Afterward, you can select and configure the appropriate connection in the network settings.
It is essential that the option "Automatic DHCP assignment" is selected in the IPv4 settings. This typically ensures a smooth connection to the Internet.
1.1 LAN via Ethernet-USB Adapter
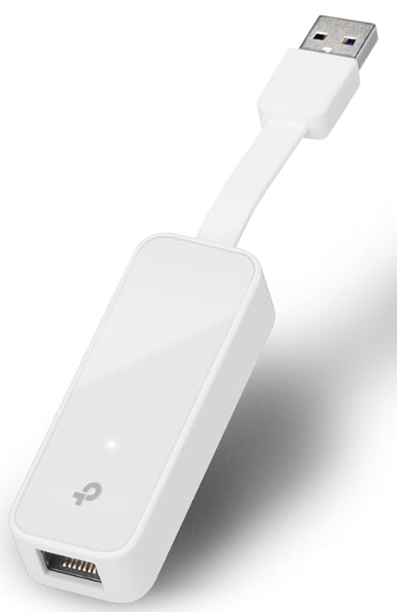
An alternative method for a wired connection is to use an Ethernet-to-USB adapter. A common model for this purpose is the TP-Link UE300 USB to Ethernet Adapter. The adapter allows you to establish the Ethernet connection via a USB port, in case the Ethernet interface on the cabinet is occupied.
To establish the connection, follow the procedure described in section "1. LAN Cable."
2. Wi-Fi Adapter
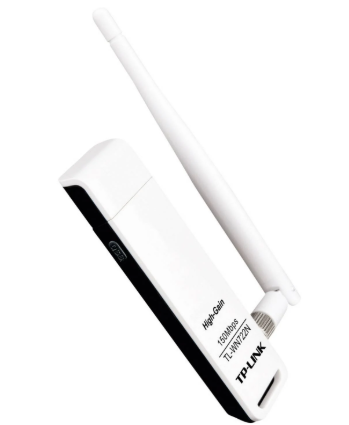
If a wired connection is not an option, you can use a Wi-Fi adapter. A recommended Wi-Fi adapter is the TP-LINK TL-WN722N USB Wi-Fi Stick. This adapter allows you to connect the robot to a wireless network. The configuration is also done through the network settings in horstOS, where you can select the Wi-Fi network and enter the password.
3. Surfstick
Alternatively, you can use the provided surfstick to establish an Internet connection. This is especially useful when there is no available Wi-Fi or LAN connection. The surfstick must be connected to a USB port on the robot, and the configuration is automatically handled once the stick is recognized.
The installation and setup are explained in more detail in the following article:
Information about the Surfstick
4. Mobile Phone
Tethering from a mobile phone (both Android and iPhone) allows you to connect the HORST robot to a mobile data network when no other network connection is available. The following guide explains how to proceed with tethering using either an Android or iPhone device.
External Wi-Fi adapter
Important Note: The HORST robot does not have its own Wi-Fi adapter. To establish a Wi-Fi connection, you must plug an external Wi-Fi adapter (as described in section 2) into one of the USB ports of the robot in order to use the Wi-Fi network.
4.1 Connecting via an Android Smartphone
Step 1: Enable Tethering on the Android Smartphone
Open the Settings on your Android smartphone.
Navigate to "Connections" or "Network & Internet" (this may vary slightly depending on the manufacturer).
Select "Hotspot & Tethering."
Enable the option "USB Tethering" (if you want to use a USB connection) or "Wi-Fi Hotspot" (if you want to use a Wi-Fi connection).
USB Tethering: If you wish to connect the robot via USB, make sure your Android smartphone is connected to the robot via a USB cable.
Wi-Fi Hotspot: If you want to connect the robot via Wi-Fi, enable the Wi-Fi Hotspot and configure the hotspot by setting a network password (optional).
Step 2: Connect the Robot to the Android Smartphone
Via USB: If USB Tethering is enabled, connect your smartphone to the robot using a USB cable. The robot should automatically recognize the mobile phone as a network source and establish an Internet connection.
Via Wi-Fi: If you are using the Wi-Fi hotspot, ensure that an external Wi-Fi adapter is plugged into one of the USB ports of the robot. Then, open the network settings in horstOS on the robot, search for the hotspot name (SSID) of your Android smartphone, and enter the network password.
Step 3: Verify the Network Connection
After the connection, go to the network settings of the robot and check whether the Internet connection was successfully established.
4.2 Connecting via an iPhone
Step 1: Enable Tethering on the iPhone
Open the Settings on your iPhone.
Navigate to "Personal Hotspot." If this option is not directly visible, tap on "Mobile Data" and enable "Personal Hotspot."
Enable the Personal Hotspot and ensure that "Allow others to join" is turned on. You can also set a Wi-Fi password for the connection.
Step 2: Connect the Robot to the iPhone
Via USB: If you wish to connect via USB, plug the iPhone into the robot using a USB cable. Once the iPhone is recognized as a network source, the robot will automatically establish the Internet connection.
Via Wi-Fi: If using the personal hotspot, ensure that an external Wi-Fi adapter is plugged into one of the USB ports of the robot. Then, open the network settings in horstOS on the robot, search for the hotspot name (SSID) of your iPhone, and enter the password.
Step 3: Verify the Network Connection
After the connection, go to the network settings of the robot and verify whether the Internet connection was successfully established.
Additional Notes
Mobile Data: Ensure that mobile data is enabled on your mobile phone and that you have enough data allowance for a stable Internet connection.
Hotspot Password: When using the Wi-Fi hotspot, make sure you enter the correct password to establish the connection.
Operating System Compatibility: For both devices, an up-to-date version of the operating system is required to avoid issues with tethering.
We cannot guarantee compatibility for devices not mentioned in this article. Additionally, many of the available adapters may not be immediately compatible ("plug'n'play") with the robot's Linux operating system.Connection Quality: Note that the quality of the connection depends on the mobile network coverage of your service provider.
Wi-Fi Adapter: Since the robot does not have its own Wi-Fi adapter, ensure that you plug an external Wi-Fi adapter (as described in section 2) into one of the USB ports of the robot to establish a Wi-Fi connection.