
Getting started
Start with your Physical AI Readiness Kit: a real robot, the supplied development PC and the software prepared for your configuration. Use the delivery documentation to identify your system before opening an application.
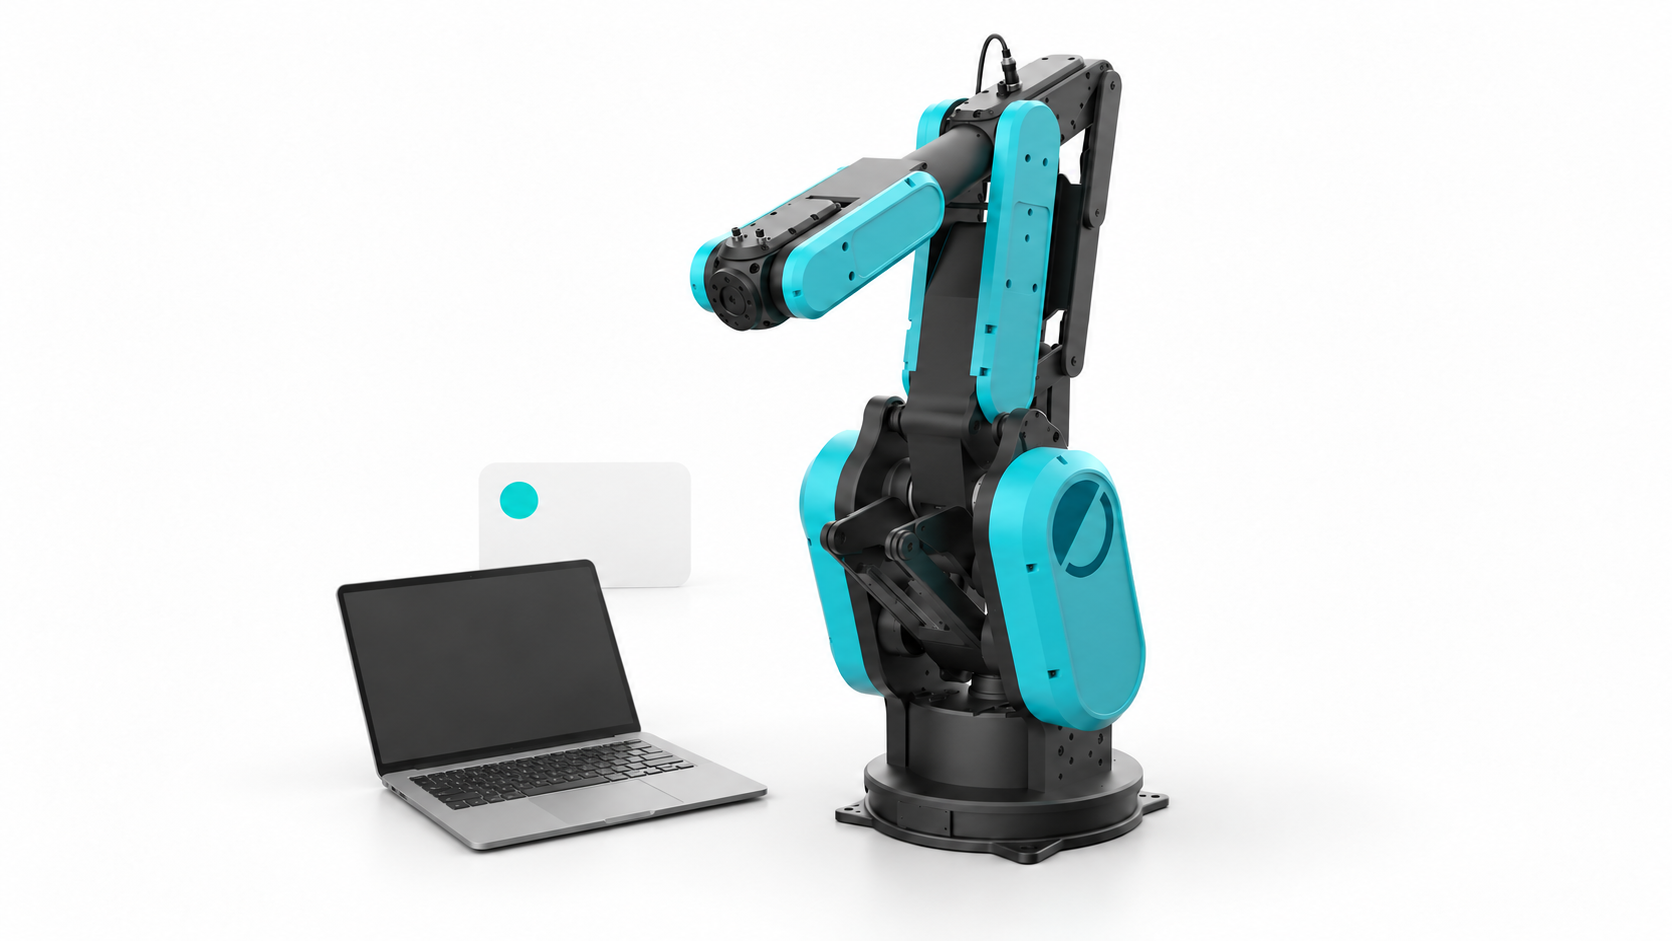
Prepare the delivered system
- Check the robot, tooling, camera and PC against your delivery inventory.
- Follow the supplied robot installation and commissioning instructions. Complete the system handover before connecting your application.
- Open the development environment on the prepared PC. Check the installed SDK and Runtime versions against the supplied software inventory.
- Use the Runtime connection details supplied for your system. Begin with discovery and a status read before developing your own workflow.
The network address, access configuration and commissioning procedure belong to your delivered system. The documentation's local fixture addresses do not identify your real robot.
Choose your development language
| Start here | Build toward |
|---|---|
| Python SDK | Data, vision, notebooks and robot applications |
| Node.js SDK | Application services, interfaces and connected tools |
| Control API | Requests, status and operation schemas |
The SDK pages include small, clearly labelled local fixture exercises for learning the client lifecycle. Use the supplied connection configuration for your physical system; these exercises do not commission or move it.
What is prepared in the kit? · Explore integrations
The Quickstarts repository and delivered language folders include the SDK, Testkit, examples and lockfiles. They need Node.js 24 LTS; Python also needs 3.12 and uv 0.13.7 or newer. Open node/ or python/ in the Git clone, or the corresponding delivered language folder, and follow Python or Node installation to install the packages and run your first status example.