Command: Pallet
Set up a pallet grid, teach its corner points, and define approach, departure and correction points.
A pallet must be placed in a repeat loop (number of repetitions = number of palletising points) so that all points are processed.
Tab 1: General settings
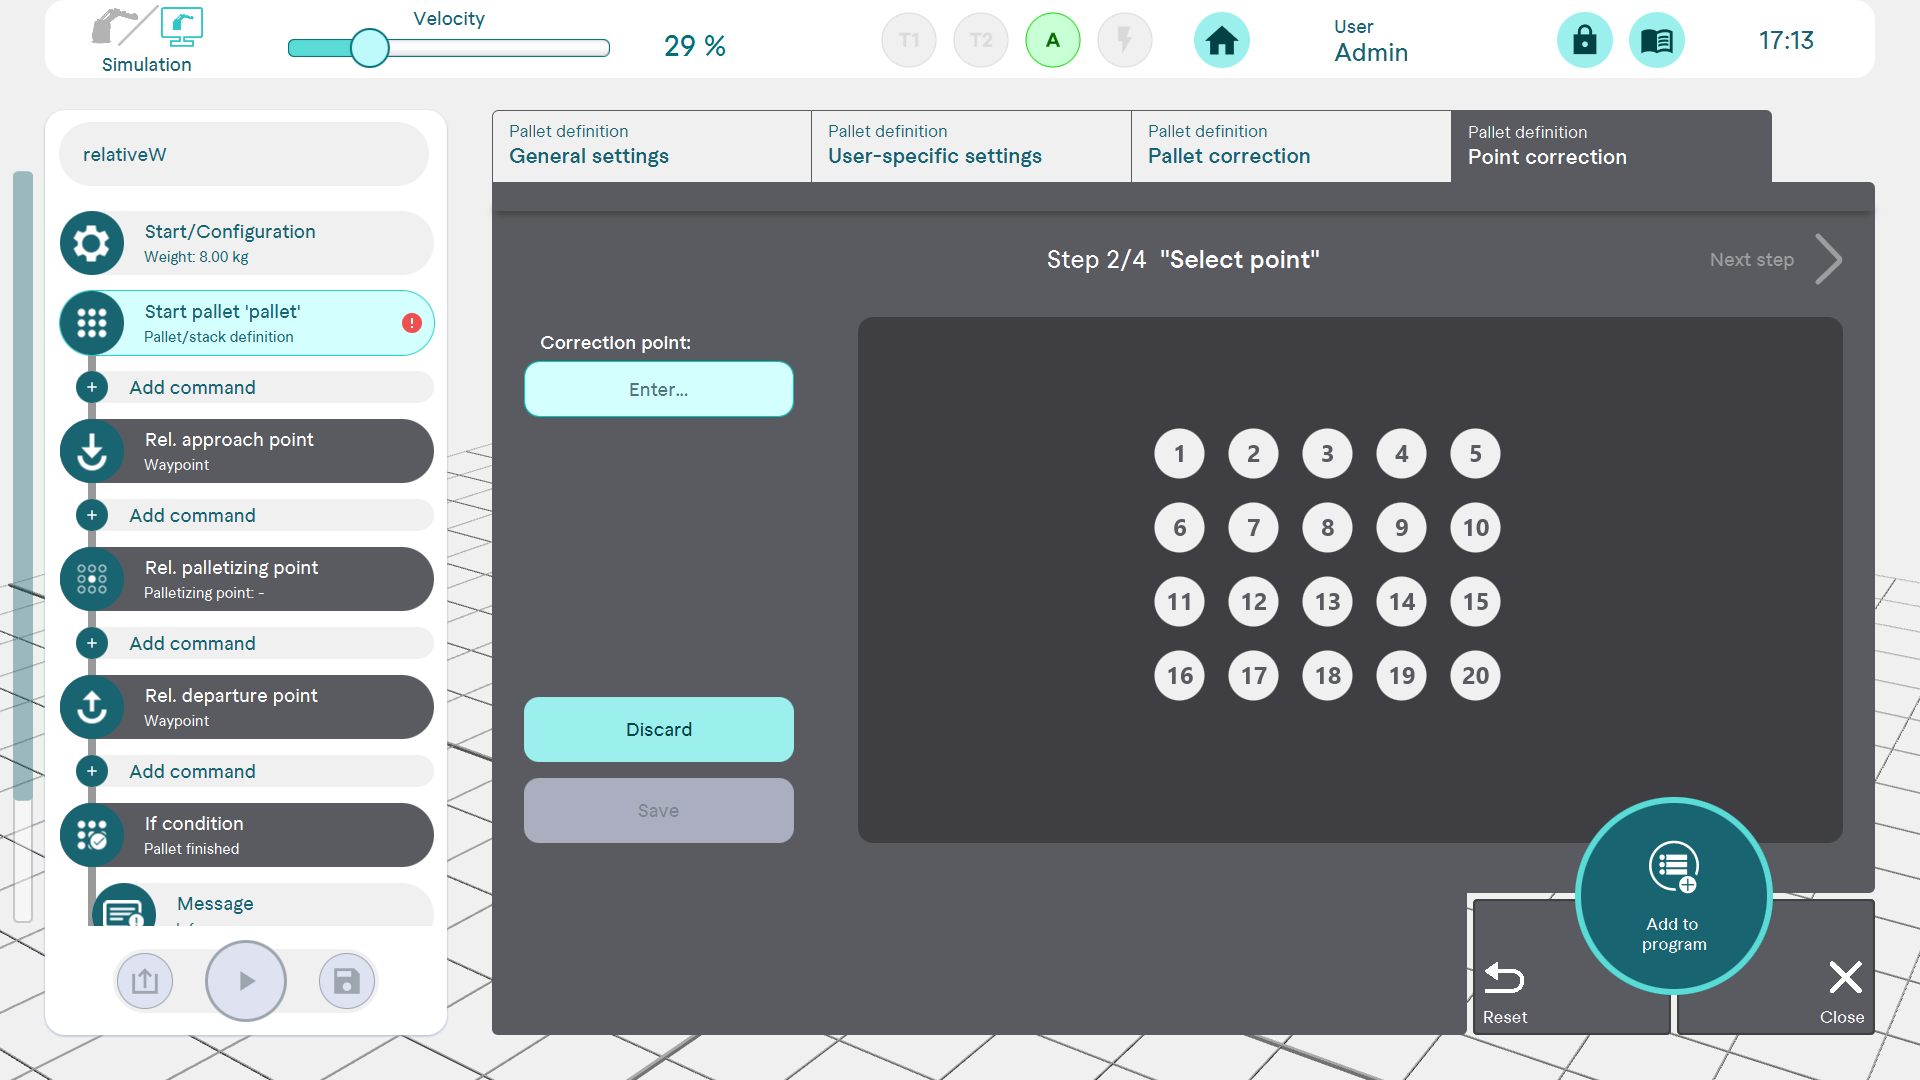
Step 1: Pallet
The pallet grid is defined first; the tool and the coordinate system for this pallet can also be set here.
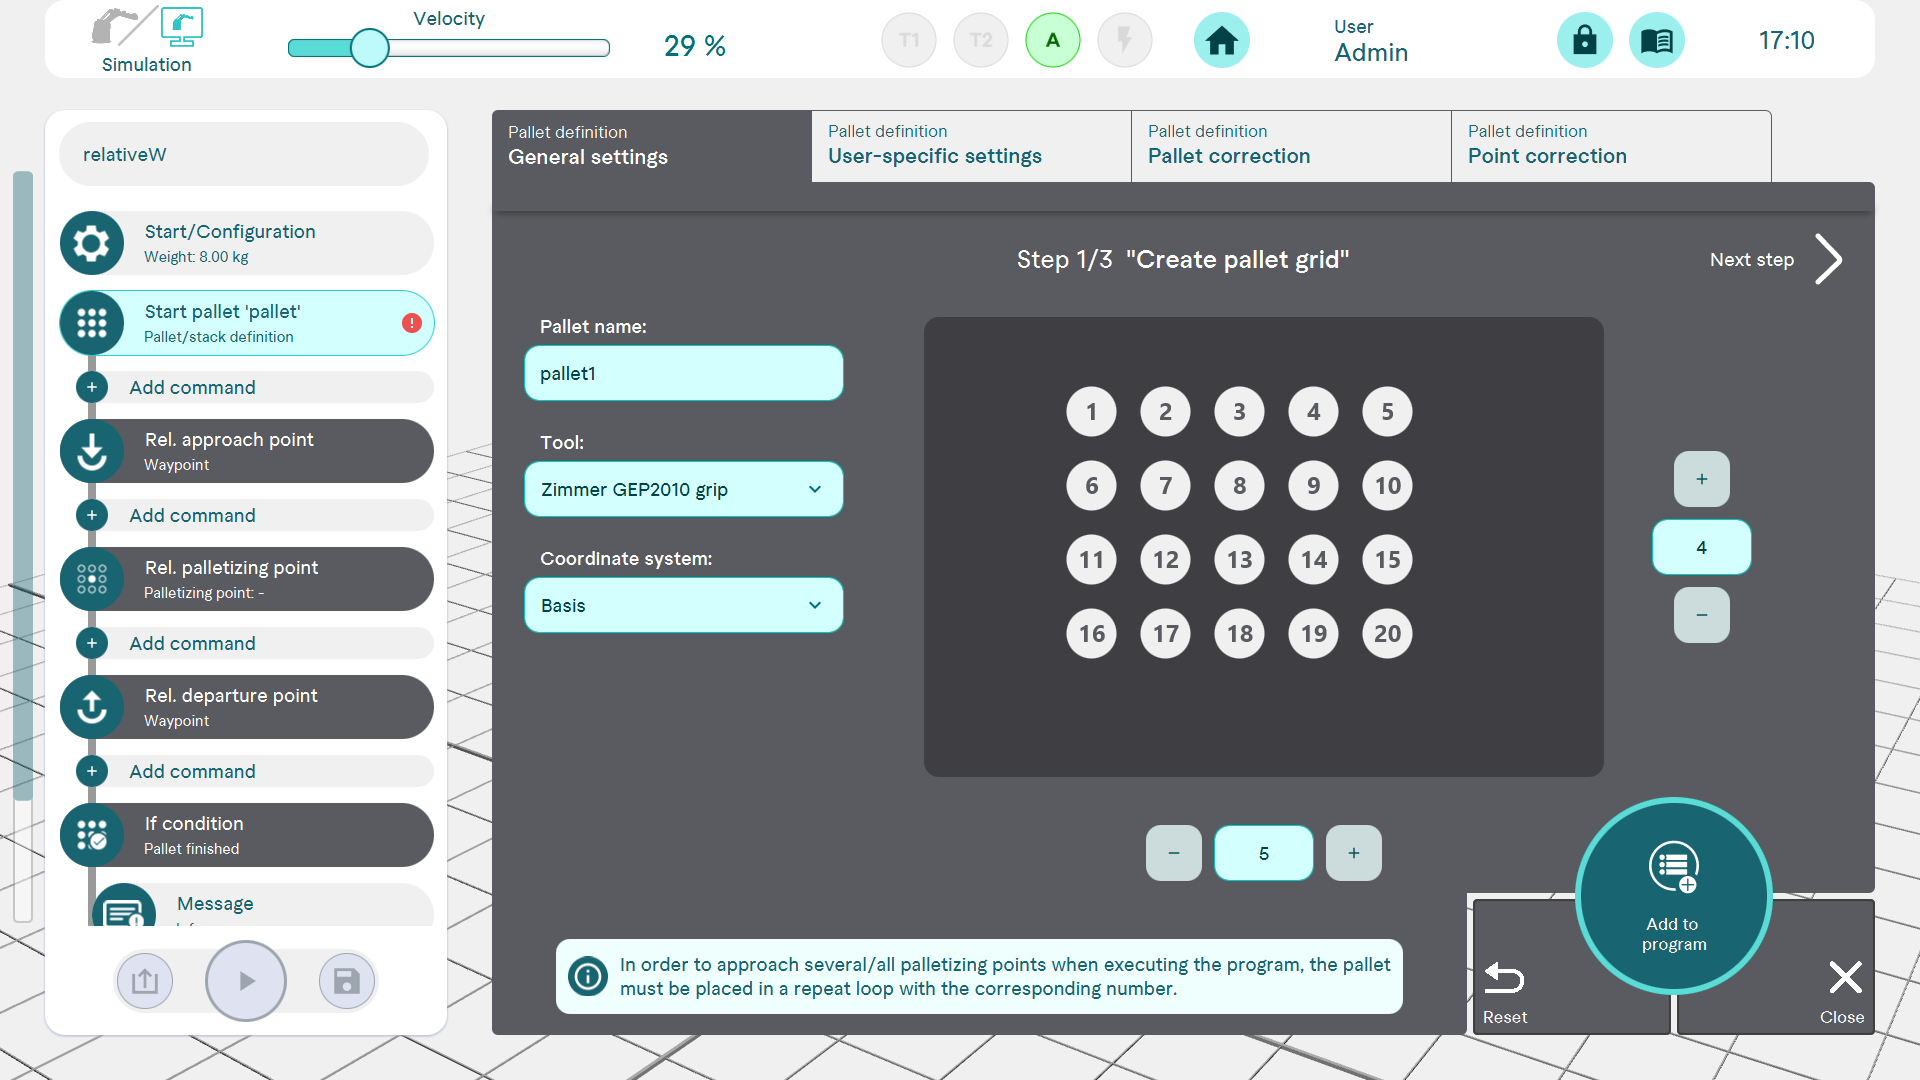
Step 2: Define corner points
The corner points of the pallet are then defined. This is done in the same way as for free navigation.
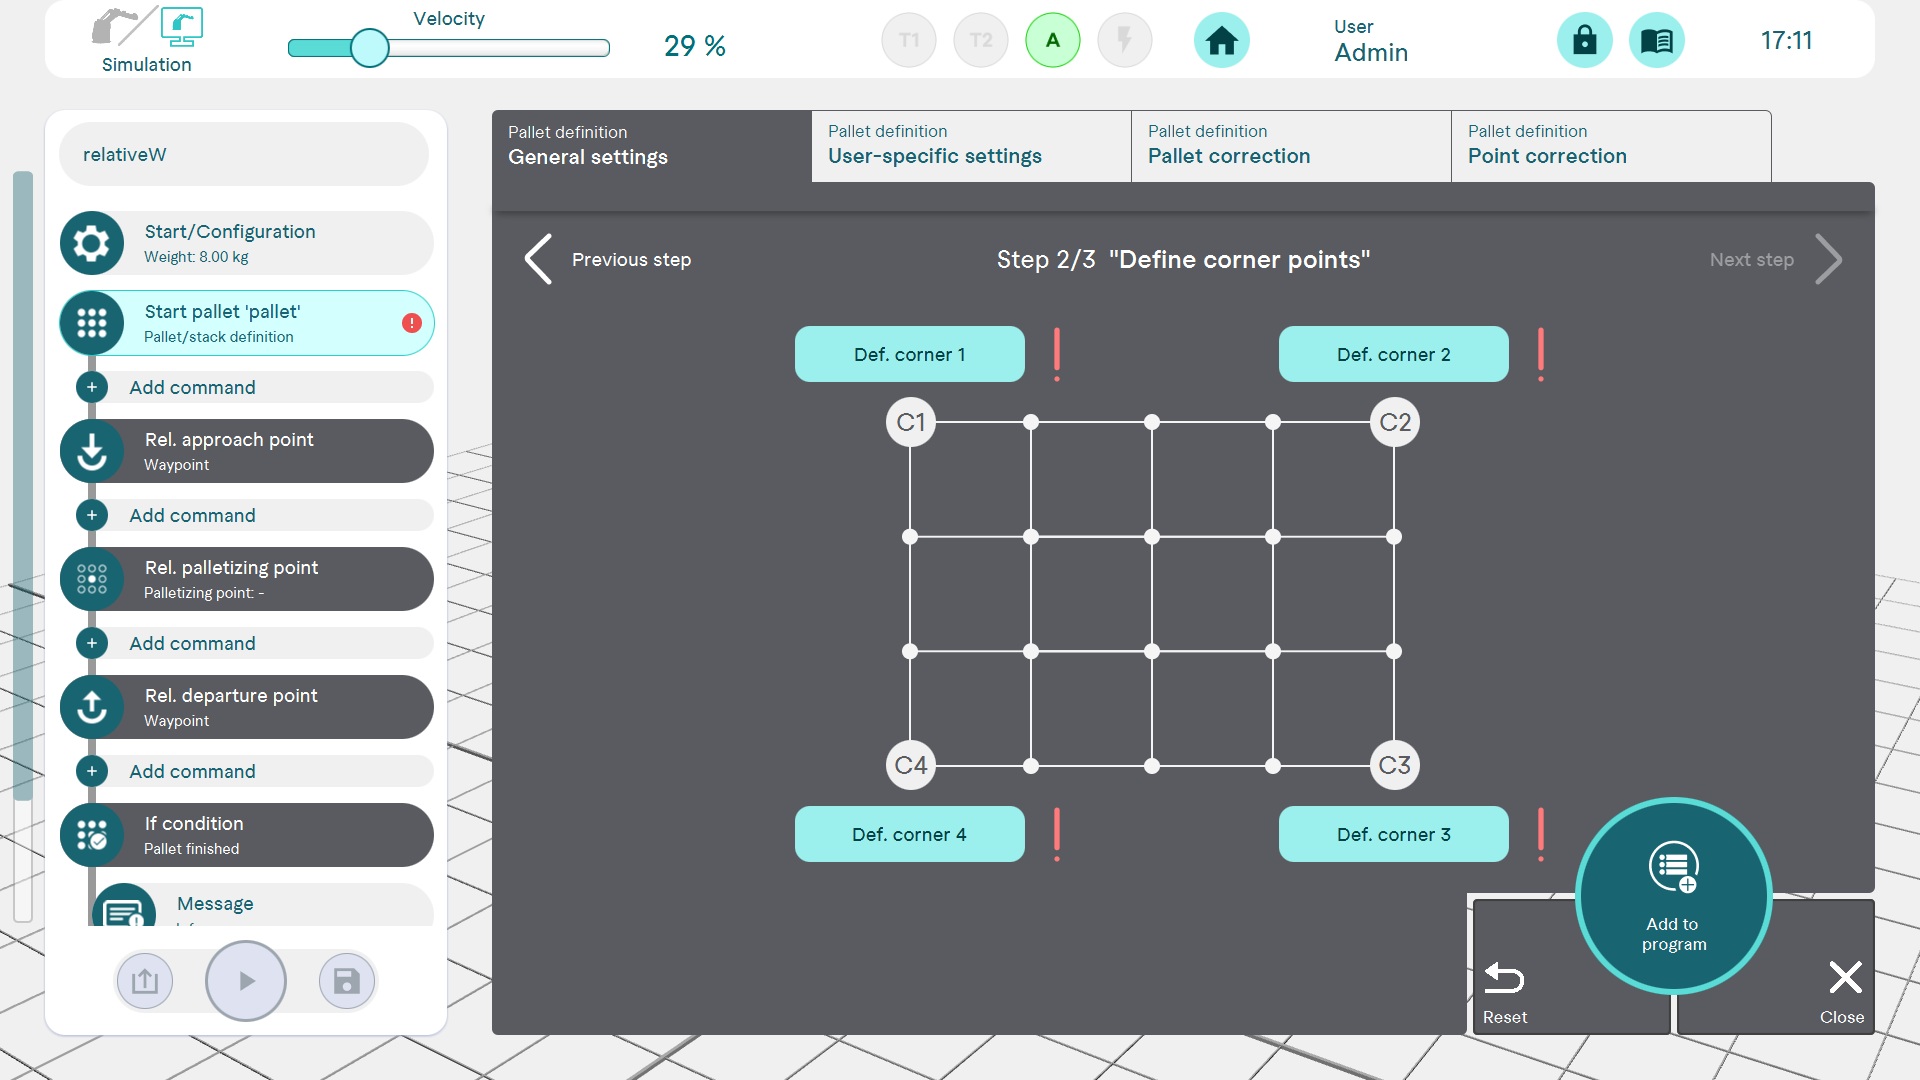
Step 3: Define approach and departure point
In the third step, a relative approach and departure point is defined. This can be the same for approach and departure (identical) or can be defined separately.
Actions such as open/close gripper can then be added between the approach and departure and palletising points.
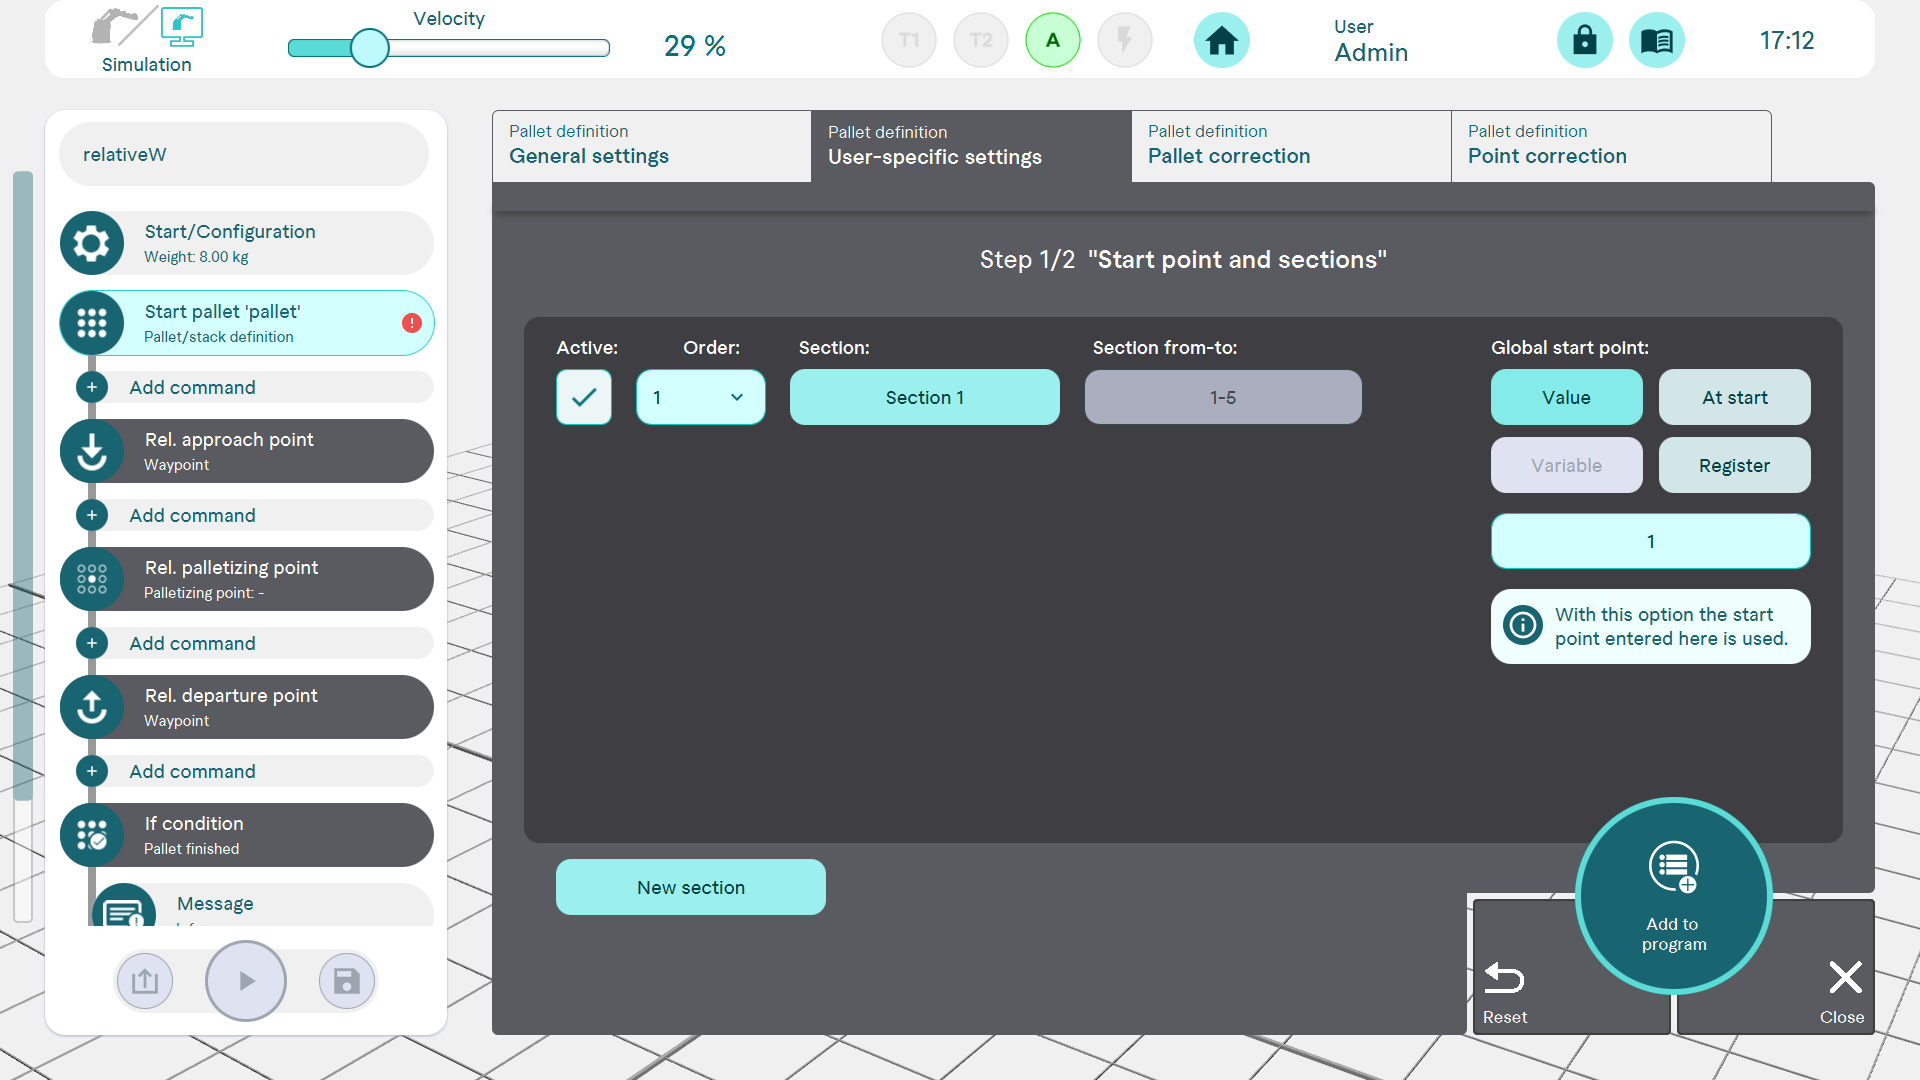
Tab 2: User-specific settings
In the user-specific settings, the pallet can be divided into subsections so that areas can be edited individually. A global entry point can also be selected. The register function makes it possible to start at the last palletising point processed if palletising has been interrupted.
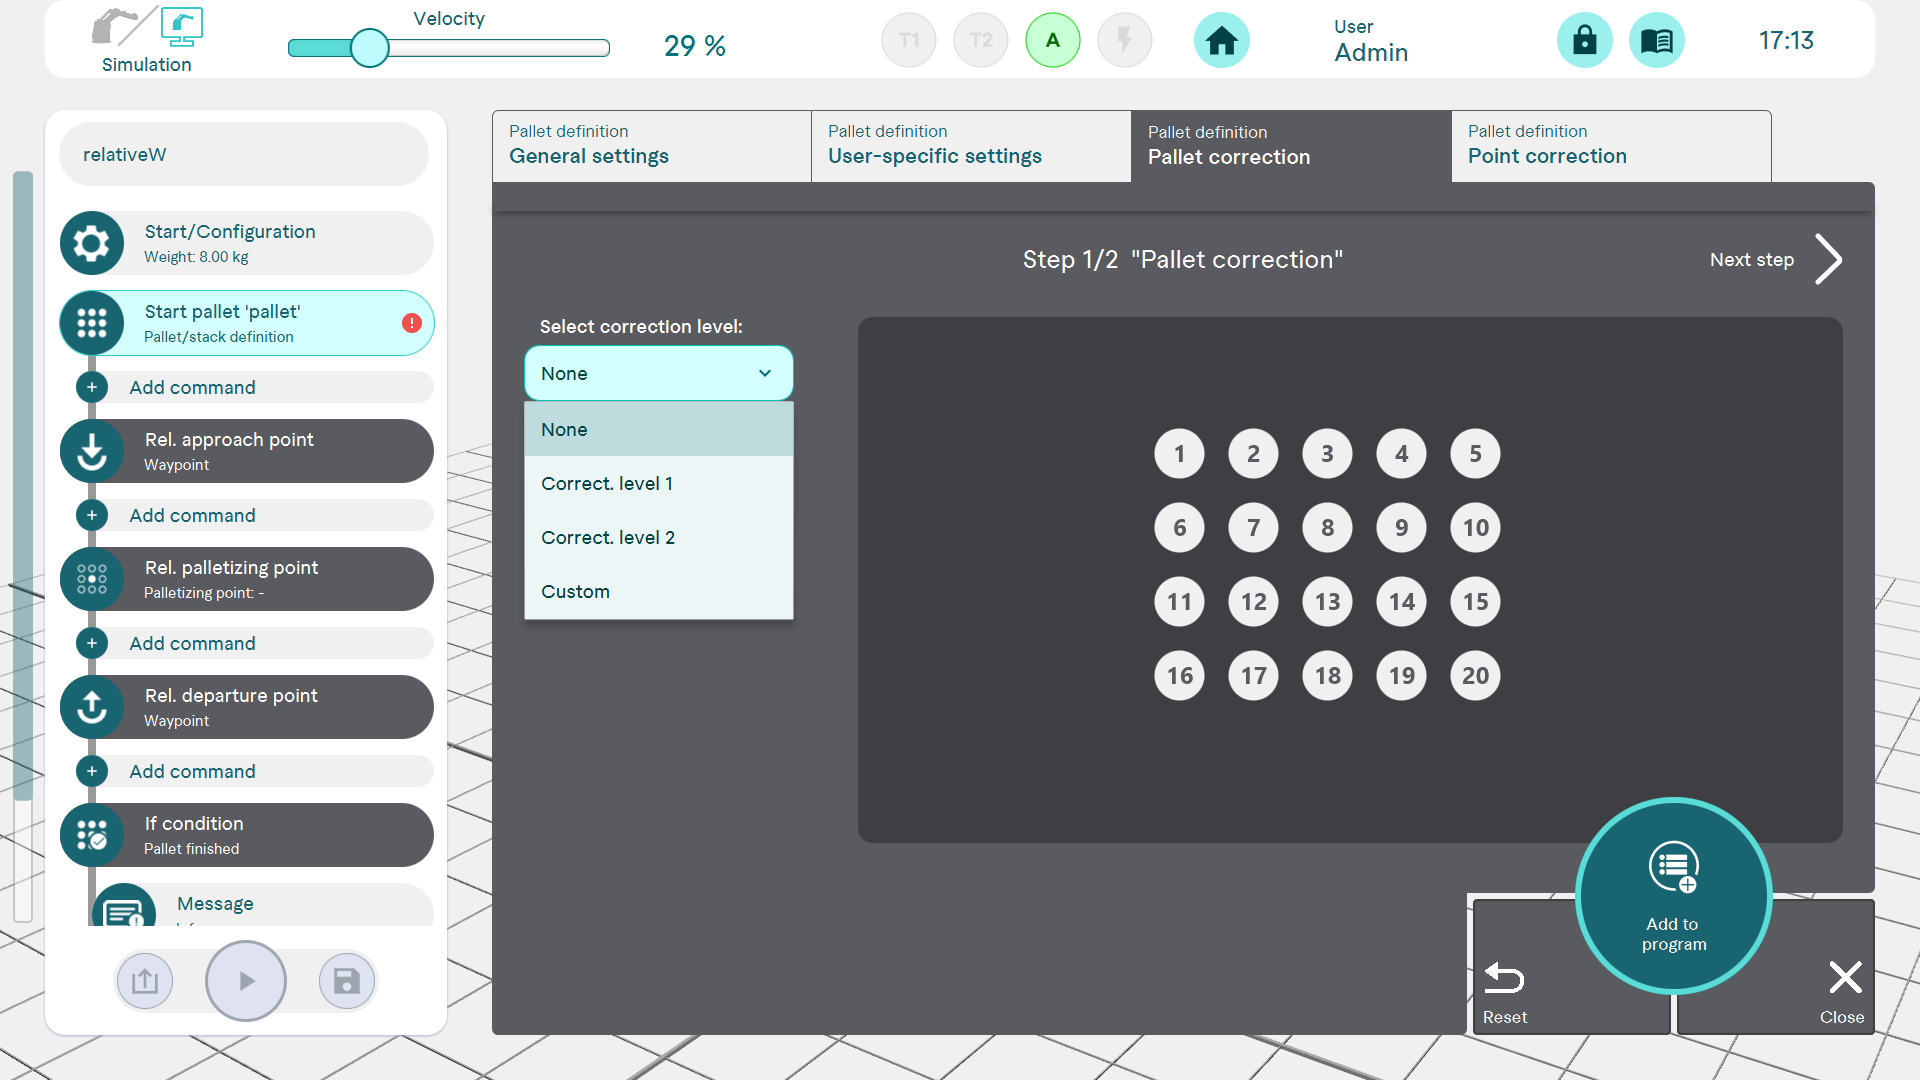
Tab 3: Pallet correction
It is possible to correct certain points on the pallet. Three different correction levels can be used for this. Individual points are re-teached, which then have an effect on the surrounding points.
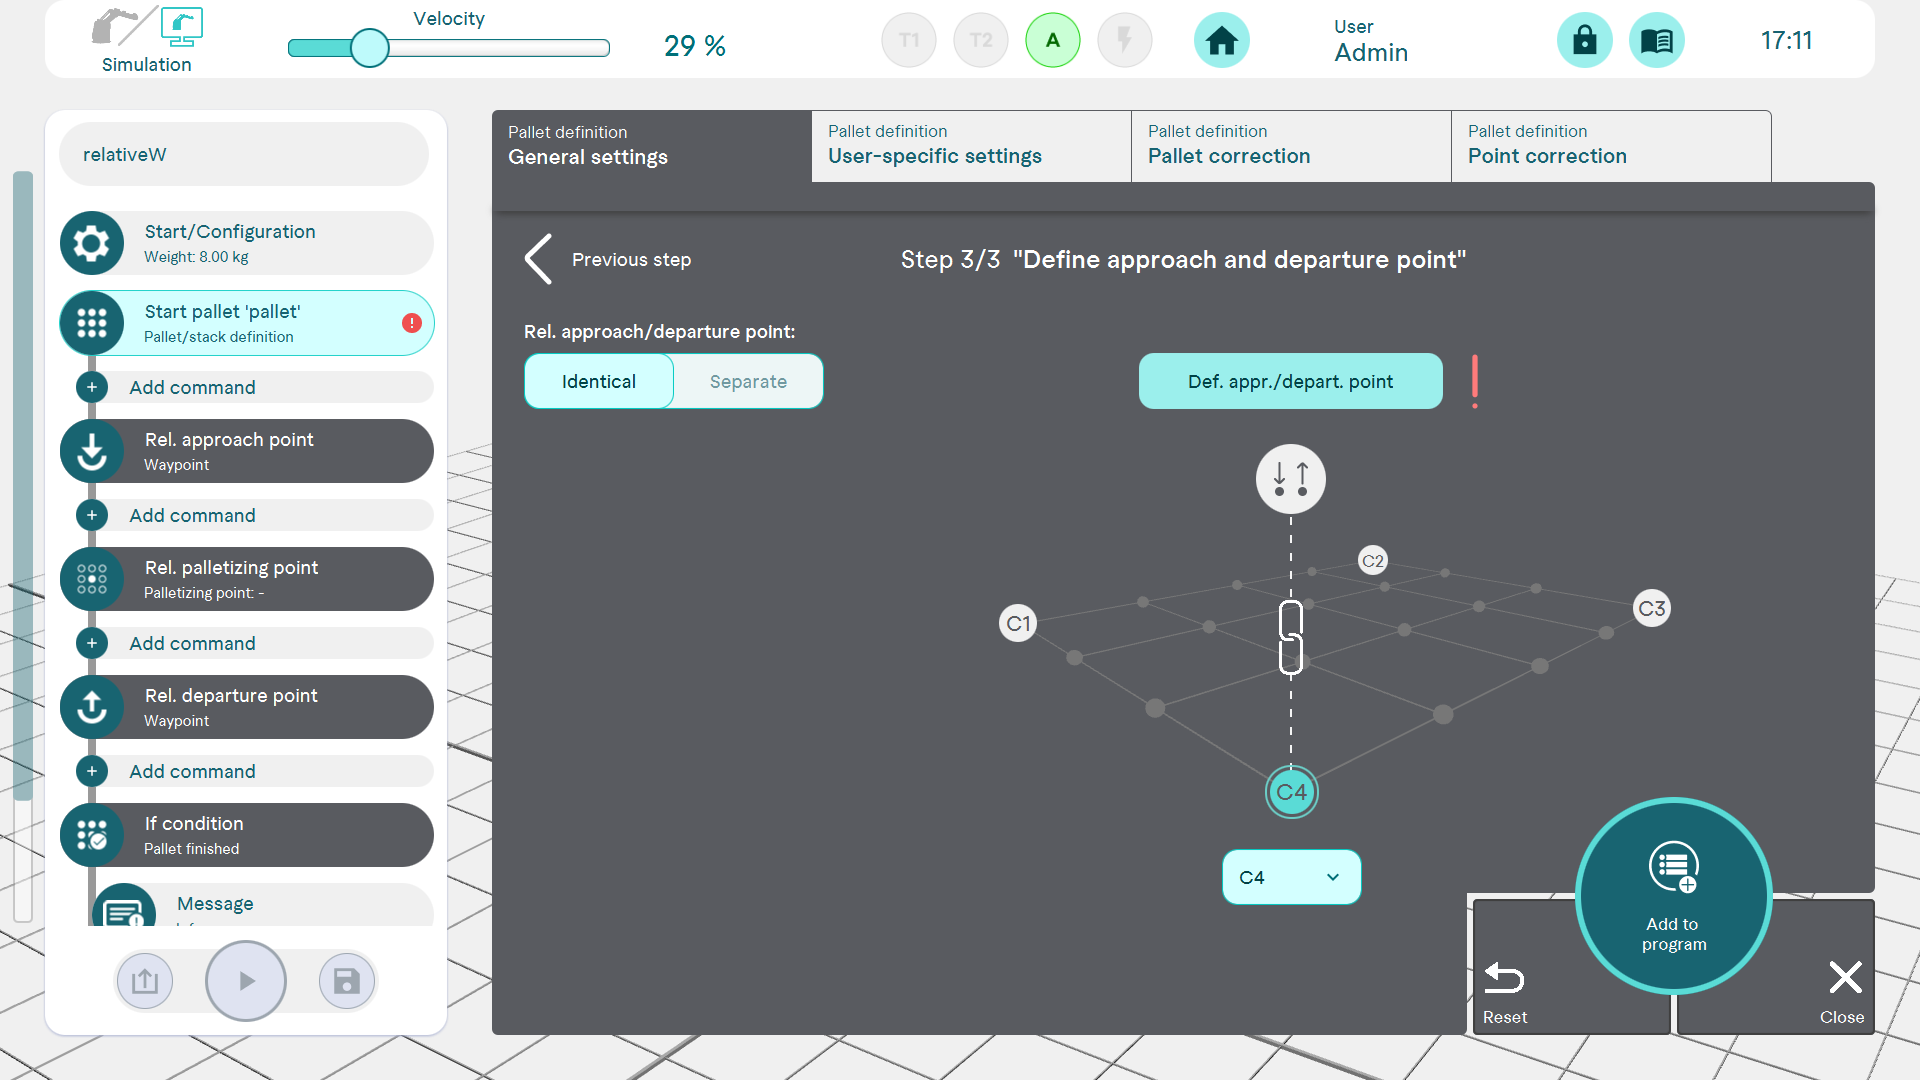
Tab 4: Point correction
Individual points can be corrected using point correction. If necessary, the approach and departure points can also be adjusted.
It is also possible to adjust only the approach and departure points.